
How to Use a Half-Body Mannequin for Women's Garment Draping?
In the process of garment design and production, pattern making is a very critical skill. For women's clothing, using the DELIANG bust model Dress Form for three-dimensional cutting not only shows the design concept more intuitively, but also lets the sense of fall and lines of the fabric show more naturally.
So, how to correctly use the bust form for pattern making? This article provides you with a detailed breakdown of the steps and practical advice.

🔹 I. What is a bust model? Why is it suitable for modeling?
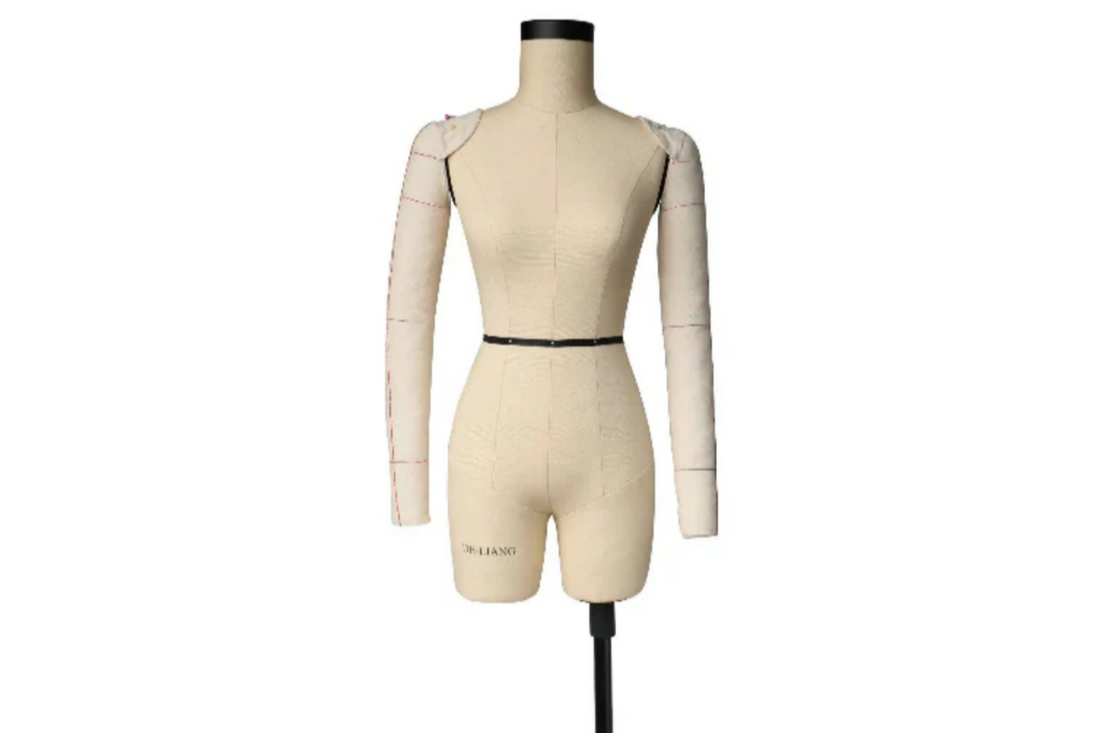
Half-body model, also known as women's upper body mannequin, usually includes a complete structure of chest, waist and hips, and some styles come with foldable shoulder or leg interfaces to facilitate wearing and taking off and trouser proofing.
There are the following advantages of using half-body mannequin proofing:
✅ Realistic reproduction of human body proportions, improving the accuracy of pattern making.
✅ Ideal for three-dimensional cutting and draping.
✅ Bead pins can be used to fix the fabric and adjust the structure line flexibly.
✅ Can be used for multiple revisions and modeling exercises.
🔹 2. Preparation Before Platemaking
Before using a bust model for platemaking, you need to prepare the following materials:
Tools Purpose
Half-body mannequin For three-dimensional modeling
Beading needle, scissors, soft ruler Fixing and measuring the fabric
Typesetting cloth (Muslin) For preliminary cutting and trial samples
Marker or scratching powder Marking the structural lines, symmetry lines
Tape paper (optional) Structural aids can be affixed to the lines, making them easy for beginners to see
In addition, make sure the model is at the right height, and adjust the swivel base for a smoother working hand.

🔹 3. Steps (take the blouse as an example)
1. Mark out the center line and bust line
Using chalk or stickers, mark out the key structural lines such as the front center line, side seam line, bust line, waist line and other key structural lines on the model.
2. Attach the patterned fabric
Attach the cut Muslin patterned fabric to the model, unfolding it from the front center line to the sides and securing it along the structural lines with a bead pin.
3. Shape the shape and fabric pattern
Gently pull the fabric to fit the curves of the model with the fabric pattern, shaping the chest, shoulders, waistline and other areas, and cut the darts appropriately to release the tension.
4. Marking key lines
Use chalk or markers to mark the edges of the cut pieces on the patterned fabric, such as the princess line, the length line, and the provincial channel.
5. Remove the patterned fabric and lay it flat to make a paper pattern
Remove the fabric and lay it flat to convert it into a paper pattern according to the markings, so that you can proceed to the next step of production (e.g., cutting the formal fabric, sewing the sample garment, etc.).
🔹 4. Applicable People & Application Scenarios
👗 Women's fashion designers: suitable for daily pattern making and design development
👩🏫 Clothing students: the best tool for training tailoring skills.
🧵 Handmade apparel brands: suitable for dressmaking, photo shoots and exhibitions
📸 Content creators: to show pattern making process, sewing tutorials

✅ Summary: Typesetting is not difficult, choosing the right tools is important
The bust model is one of the indispensable tools in the process of garment typesetting. By choosing the right model, matching the pattern making cloth with basic tools, even a novice pattern maker can gradually master the technique of stand-up cutting and lay a solid foundation for your women's clothing works.
If you are looking for professional pattern making models, welcome to check out our DE-LIANG advanced bust model series -- multiple sizes available, support for folded shoulders and leg styles, to meet various needs from basic teaching to high-end customization.